
What we cover
On Windows
Windows computers have a built-in tool called Windows Fax and Scan that is useful for scanning and saving documents. However, this tool can’t create a single PDF document from multiple scans.
There are excellent alternatives such as NAPS2, an open-source tool that allows you to scan multiple pages and save them as a single PDF file.
In addition to NAPS2, you can also use the dedicated application provided by your scanner’s manufacturer, such as (EPSON Scan, Brother ControlCenter4 , HP Scan) to scan multiple pages of your document into one PDF file.
Now, let’s see how to use the NAPS2 app to scan multiple pages into a PDF file:
- Download and install NAPS2 from the official website.
- Make sure your PC is connected to the scanner.
- Launch the NAPS2 app and click the Profiles button to add a profile.

- Before you start using NAPS2, you need to create at least one profile. A profile allows you to save information about a specific scanning device and all the configurations needed to perform scans with it.
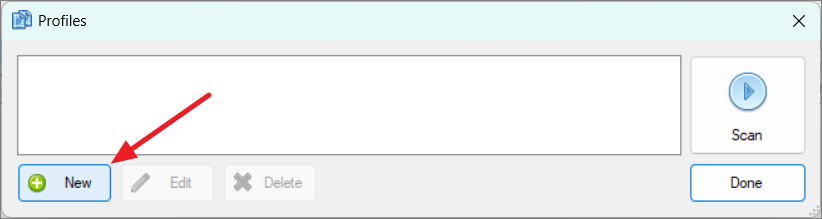
- Click New in the Profiles window to add a new profile.
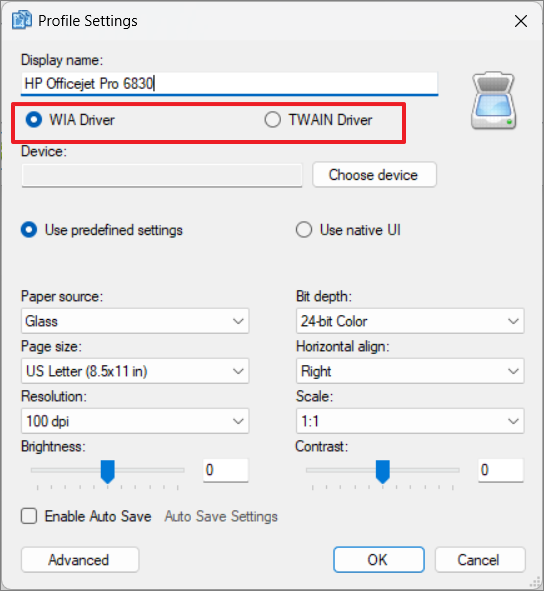
- In the Profile Settings dialog box, give a name to the profile under Display name.

- There are two kinds of drivers: WIA and TWAIN. If you’re not sure, go with WIA. If you face issues like not finding your device, switch to TWAIN.
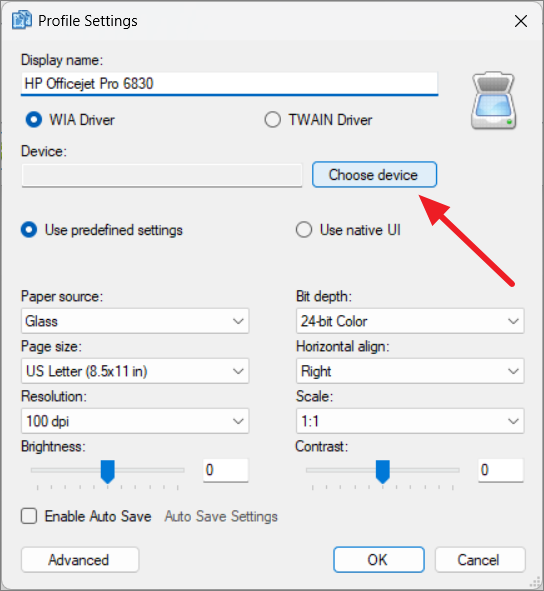
- Next, click Choose device, select your scanner from the list, and select OK.
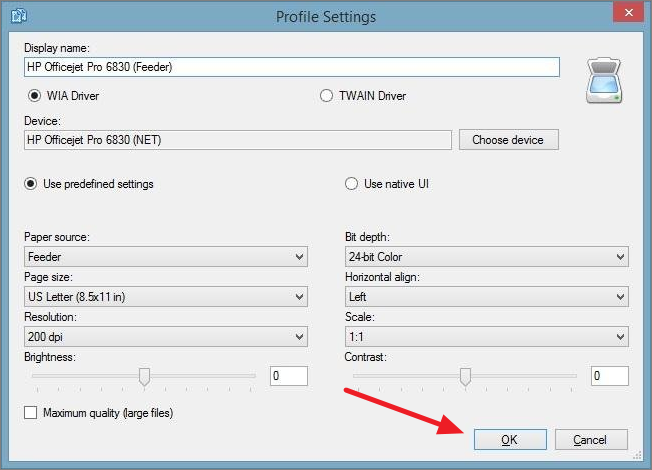
- After choosing the device, adjust the scan settings according to your liking.
- While configuring, make sure to select the correct Paper source.
- Flatbed: If you prefer to scan each page separately, or if your scanner lacks the Automatic Document Feeder feature, select Glass.
- Feeder: This option uses an automatic document feeder (ADF) for quickly scanning multiple one-sided pages.
- Duplex: With this setting, the scanner scans both sides of a double-sided document automatically.

- Once you’re done, click OK to save the profile.
- Then, click Done.

- Now, put all your documents in the tray for automatic feeding into the scanner, or open the lid and place each paper directly on the glass.
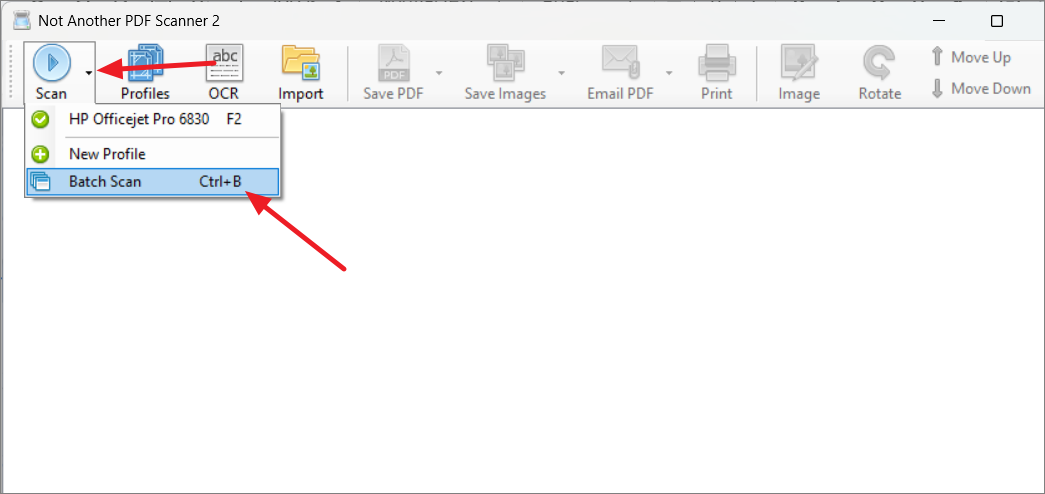
- Next, click the small arrow next to the Scan button, and select Batch Scan.
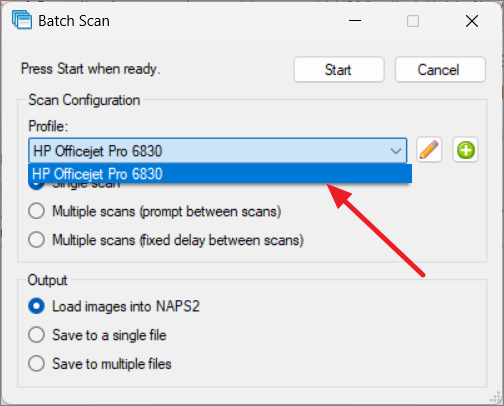
- In the Batch Scan window, choose scan profile from the Profile dropdown menu.
- Next, choose Multiple scans (prompt between scans) and Save to a single file under Output.
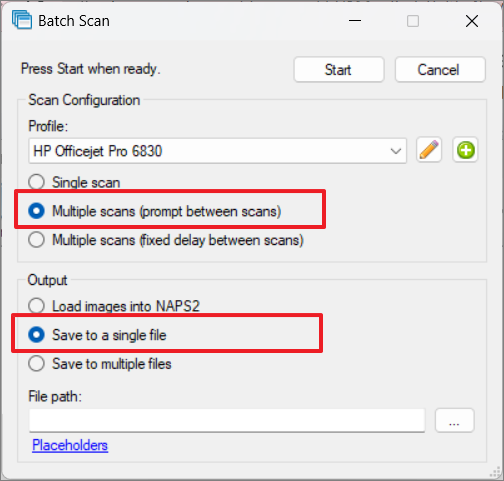
- Then, click the three dots button next to the File path to choose where you want to save the PDF file.

- Give a name to the PDF file and click Save.

- Finally, click Start to start the scanning process.
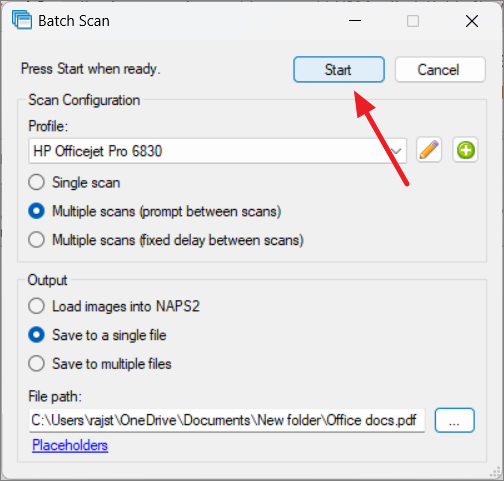
- Once the scan is complete, NAPS2 will compile all the scanned pages into a single PDF file and save it in the specified location.
Additionally, you can use the Adobe Acrobat app to scan several pages and put them together into a PDF. If you already have pages that you scanned before as pictures or PDF files, you can still use the Adobe app to compile them all into one single PDF file. Just remember, both of these features need a paid subscription for Adobe Acrobat.
Using an Online Tool
Another excellent tool for scanning pages into PDF format is iLovePDF. This web application enables you to scan documents using mobile devices and instantly share the pages directly to your computer and save them as PDF files. In addition to that, you can use the tool to merge PDF files, split PDFs, convert files to and from PDF format, compress PDFs as well as edit PDF files.
- Open the Scan to PDF tool within your desired web browser on your computer.
- Launch your mobile scanner and scan the QR code on your computer screen.

- Then, click Go to website to follow the link to the iLovePDF Mobile app (you’ll be prompted to download it if you don’t have one).

- Position your document and use your mobile to scan the page.
- After scanning the page, click NEXT to continue.

- To scan more pages, click ADD PAGE at the bottom left corner.

- Once you’re done scanning the pages, click FINISH.

- As you scan each page, it will be instantly sent to the iLovePDF web tool on your computer.
- Now, you have the option to rearrange pages, rotate pages, delete pages, change page size and orientation, and include margins on the iLovePDF web tool.
- After customizing the pages, click the Save to PDF button at the bottom right corner.

If you’ve scanned documents as pictures or PDF files, you can iLovePDF tool to convert JPG images into a PDF format or merge multiple PDF files into a single PDF document.
On a Mac
Preview is a built-in app on macOS computers that makes it easy to scan multiple pages using any scanner and create a PDF from them.
- Connect the Scanner to your Mac computer and put the documents into the document feeder.
- Click the Launchpad icon in the Dock, use the search bar to look for the Preview app, and open it.
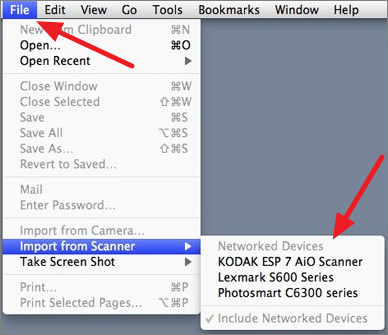
- Once the Preview app opens, click on the File menu in the top menu bar, and select Import from Scanner. Then, choose the scanner from the list.
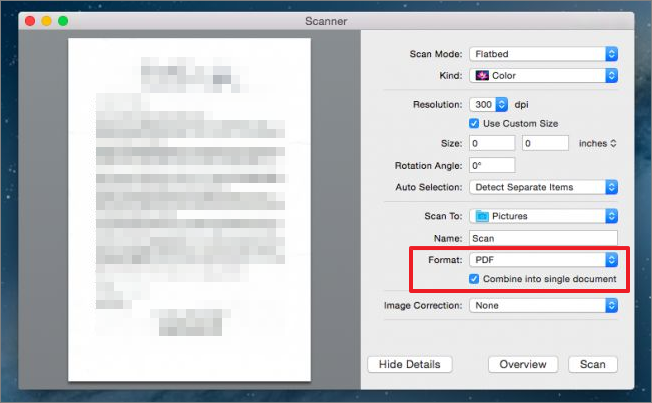
- On the right side panel, choose PDF from the Format dropdown menu and check the Combine into single document option.
- If necessary, adjust any other settings according to your preferences.
- In the left sidebar, select the preview image and press Command + A on your keyboard to select the entire scan.
- Then, click on Scan.
- Click on the Preview window in the background to view the combined PDF file.
- Finally, click on the File menu in the top menu bar and select Save to save the PDF file.

On iOS
If you have an iPhone or iPad, you can scan multiple documents using the Notes app and turn them into a PDF file in less than a minute. To use this feature, your iPhone or iPad device must be running on iOS 11 or later.
- Launch the Notes app on your iOs device.
- Tap the new note icon in the bottom right corner of the screen to create a new note.

- Tap the camera icon or the Add sign (+) and select Scan Documents.
- Place your document down on a flat surface and hold your phone directly above the document.
- When the camera beings scanning and searching for the document, you’ll notice a yellow box. Once the app recognizes the whole document, it will automatically take a snap. If your iPhone is having trouble identifying the document, you can press the shutter button to capture the image.
- Use the circles at the corners of the box to adjust the edges of your scan until it fits the page correctly.
- If you’re happy with the scan, tap Keep Scan to go back to the scanner. If the image is not to your liking, then tap Retake to rescan the document.

- Repeat the steps to scan multiple documents. Once you have scanned all the documents, tap Save.
- In the Notes app, tap on the newly scanned document to open it.

- To edit the image, simply tap on it to make your adjustments, and then click Done to save your changes.
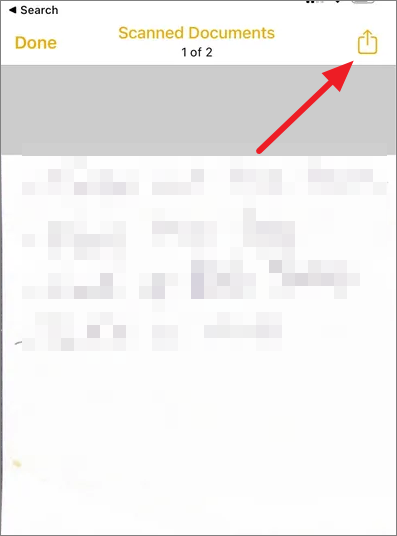
- Then, tap the Share icon on the top-right corner of the screen.
- Finally, select Save to Files to select a folder within Files app where you want to save the file as a PDF.

On Android
There are several free scanner apps available for both iPhone and Android, such as Adobe Scan, CamScanner, and Genius Scan. What many people may not know is that you can also use Google Drive on Android phones to scan documents and turn them into PDFs.
- Open the Google Drive app on your phone.
- Click the Add (+) button on the bottom right corner of the screen.

- Then, tap the Scan button.

- To start scanning, aim your phone’s camera at the page you want to scan. When the document looks right in the camera view, tap the shutter button to take a picture.
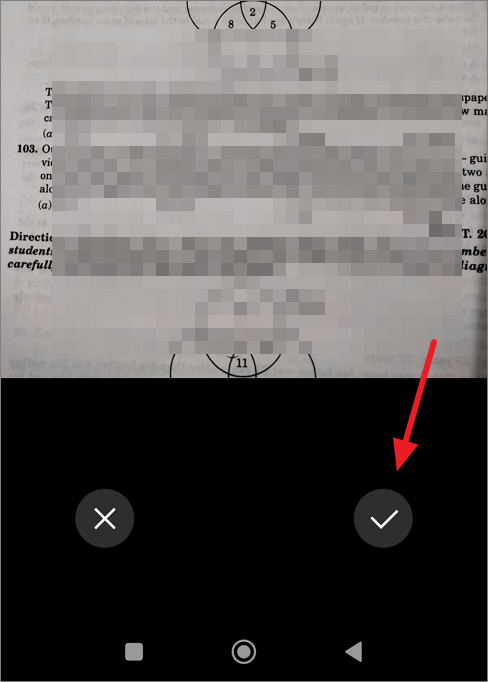
- If you’re satisfied with the image, click the tick icon to save the image. Tap the X icon to retake the picture.
- To scan more pages, tap the Add (+) icon at the bottom-left corner and repeat the process.

- When you’re done scanning all the documents, click the Save button at the bottom right corner.

- Finally, rename the file, pick an account, and choose where in Google Drive you want to save the file. Then, tap Save to save the scanned documents as a single PDF file.

Hopefully, one of the ways mentioned above will help you make your PDF quickly. Should you have any inquiries, please don’t hesitate to drop a comment.


