
Canva offers an inbuilt video editor capable of performing necessary modifications to a certain extent. While there isn’t a direct approach to removing the music from the video, here is a way around presented through a simple demonstration to get you all covered.
Remove Music From Canva Video
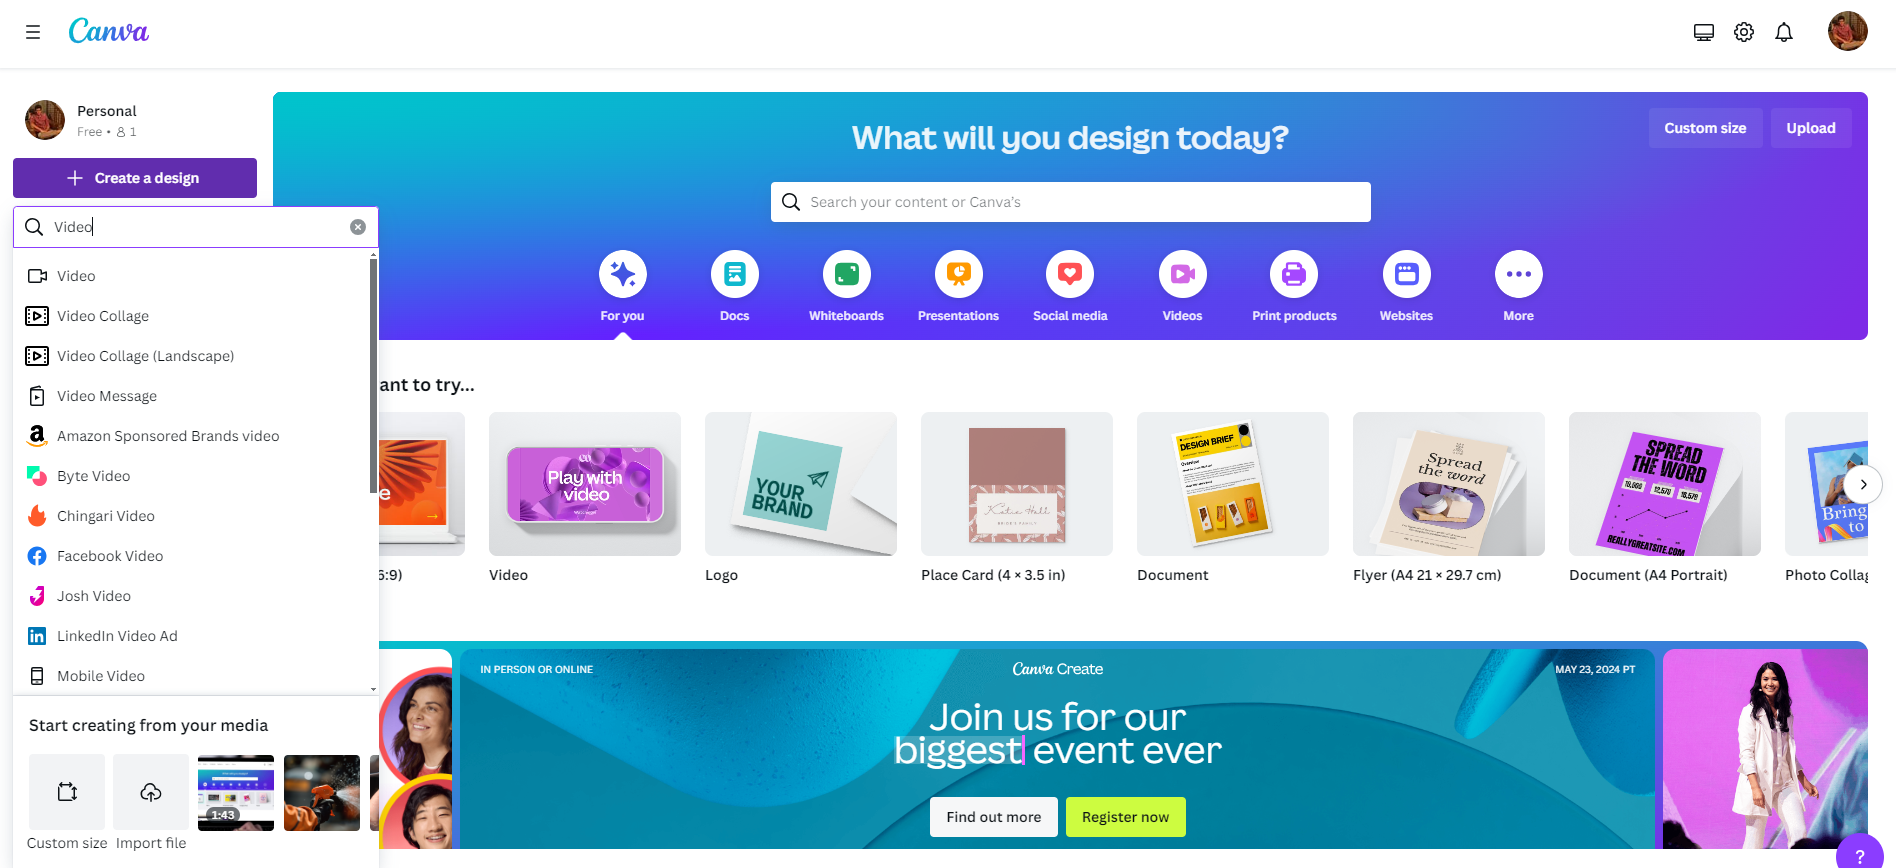
- Begin by navigating to Canva and sign in with your credentials. After logging in, create a new video design by clicking the Create a design button and choosing the Video from the drop-down or open an existing design from Recent designs.
- After the new design is loaded and you’re displayed with a blank canvas, navigate to the Editor panel on the left and click Uploads.
- Now, click on the Videos tab and then click on the uploaded video to add it to the design. If you haven’t uploaded any video, click the Upload files button to upload one.

- Once the video is added to the new or existing design, click on it to access video-related settings. By doing so, you will notice the editor toolbar has been updated, and you will click on the Volume icon from the new options displayed.
- If you do it right, you will notice the volume control options. Now, set the slider to 0 to remove the music from the video or click on the Mute icon.
Quick Tip: If the video is split, it is important to click on the toggle next to Apply to all videos on page to remove the music entirely from the video.
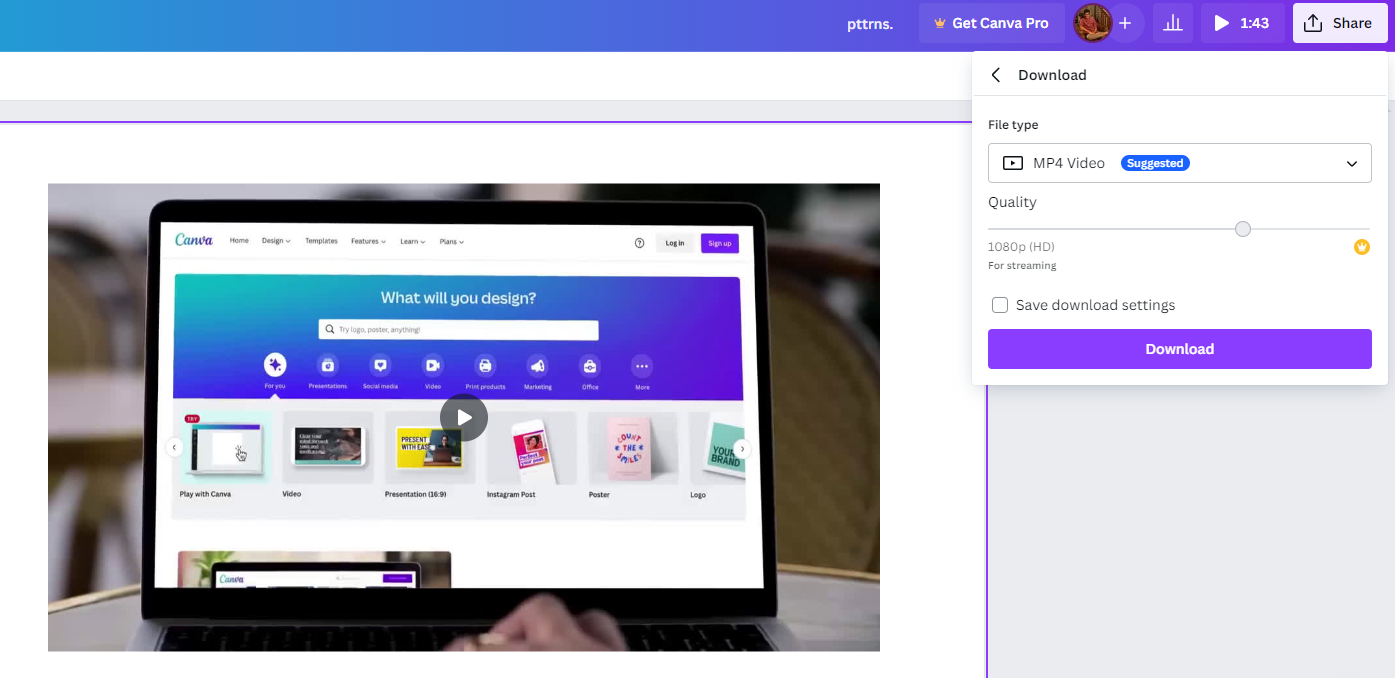
- With the music removed, you aren’t done yet, and for the music removal process to apply, download the video as MP4 Video from the Download option under the Share button.
Wrapping Up
Congratulations on learning how to remove music from a Canva video!
While Canva allows you to remove music from the video if you are not getting desired results, check out conventional video editing tools like Clip Champ, movavi video editor, Adobe After Effects, etc.
Related Reading
How To Add a YouTube Video to Canva


